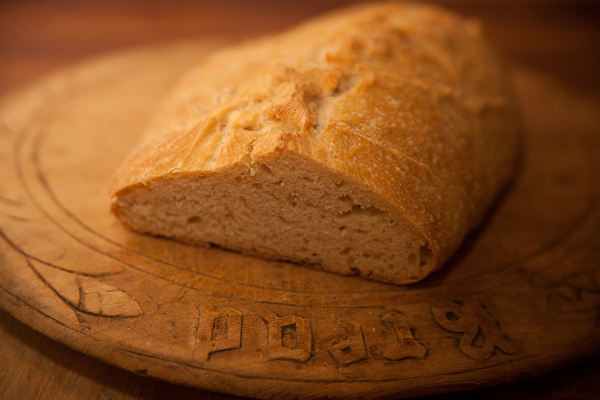
Almost all bread, pizza or other baked goods that are meant to be light and fluffy use yeast to raise or ‘leaven’ the bread. The easiest way to do this is to use a commercially packaged yeast but if you have the time there’s another method that offers even more complexity in flavour and texture – sourdough. Sourdough is dough that has been leavened using a portion of a sourdough ‘starter’ instead of a commercial yeast. The starter is just a dough of flour and water that has been allowed to start fermenting so that natural yeasts and other organisms multiply. The starter is ‘fed’ regularly with more flour and water.
Sourdough is very different to normal yeasted doughs in flavour and texture. Lactic acid bacteria produce a sharp tangy flavour, lending sourdough its name (although you can have more or less sourness depending on the balance of bacteria and yeasts in the starter). The consistency of sourdough may also be different, with some sourdough loaves having large irregular bubbles and a chewier consistency – although again this may vary based on the makeup of each starter. Sourdough also has health benefits – more claimed than I’m able to find hard evidence for but some very real. For example sourdough bread has a much lower glycaemic index (GI) value than regular yeasted white bread or even yeasted wholemeal bread! There is some research that shows sourdough breads have reduced levels of the gluten proteins that can’t be tolerated by celiacs. Sourdough also has less yeast than normal bread, important for people who are yeast-intolerant (although it does still have some yeast in the same family as the commercial varieties). Sourdough increases the bodies ability to absorb minerals in the grain by reducing phytate. So there are lots of good reasons to try making your own sourdough before you even consider that it is delicious.

How to make a sourdough starter
There’s lots of different ways of making a starter but the most basic method uses just flour and water. Organic flour is good, but plain unbleached flour works too. The water should be spring, rain or filtered water – most tap water contains chlorine, which will inhibit the microorganisms that want to flourish in the starter. Here’s how to do it:
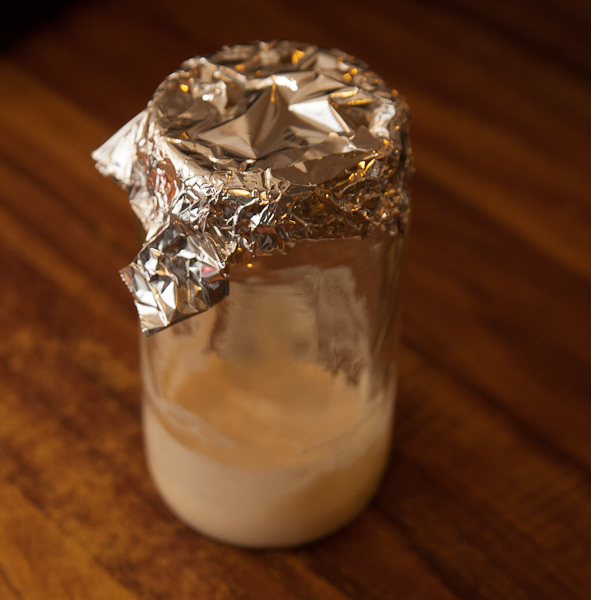
- Clean a glass jar very well. Putting it through the dishwasher is a great way to kill any nasty bugs that are lurking.
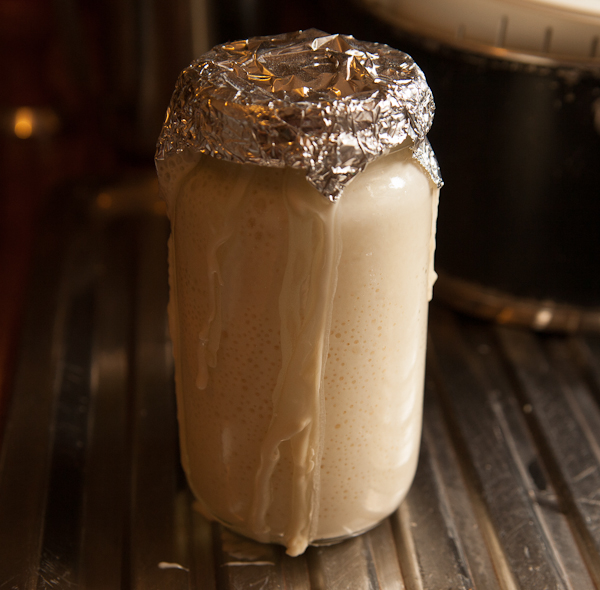
- Mix about 1/2 cup flour and 1/3 cup water water together in the jar. Cover with a piece of cloth or tin foil (not cling wrap, it needs to breathe) and leave in a warmish spot.
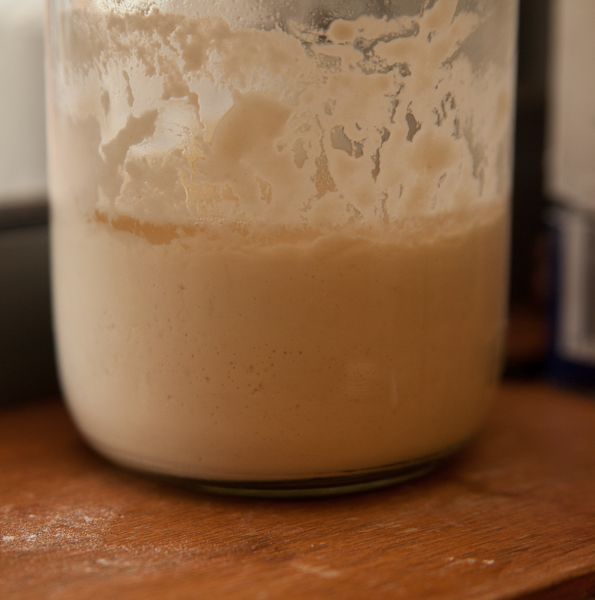
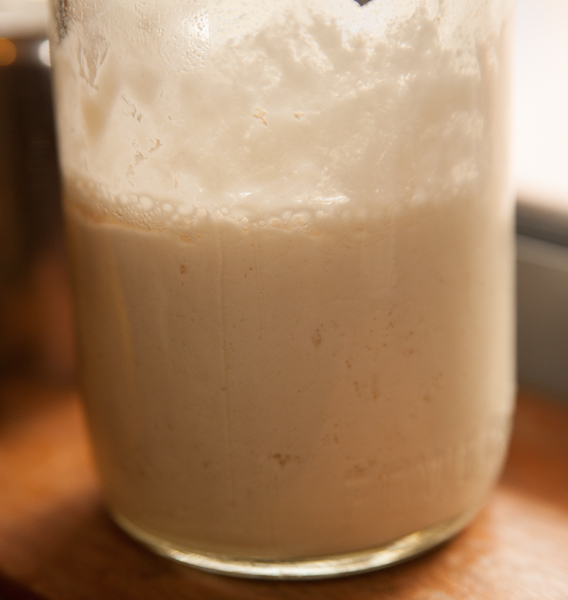
- Each day for the next few days, mix in the same amount of flour and water again. If you have the chance, stir well a few times each day. After a few days, you should start to notice bubbles forming in the dough.
- Once you have seen these bubbles form, it’s time to change the feeding schedule. Each day for the next few days, first remove half the starter – just tip it down the sink. Then replace with the same amount of flour and water. The goal is to feed the starter with fresh flour without increasing the volume so much that you run out of space in the jar. Eventually the mix will up to double in size in the jar after a feeding, so leave plenty of room.
- After 7-10 days, the starter should be healthy and ready to use. It will have an interesting smell, and may have a sharp taste.
To make a dough, I just take a portion of the starter and mix it with the other ingredients. I replace the amount I took out of the starter with more flour and water. If making a lot of dough I will feed up the starter more than usual so there’s enough starter to go around. As a rule of thumb, 1/3 – 1/2 a cup of starter is about enough to make a loaf of bread. Any ‘normal’ recipe for bread, pizza dough, whatever, can be made by replacing yeast in the recipe with some sourdough starter, although it will generally be much slower to rise.
Storing the starter
If left at room temperature, a mature starter should be fed every 1-2 days. For bakers who don’t bake every day and don’t want to waste a lot of flour and water maintaining a starter it can be stored in the fridge for up to a week between feeds. If kept in the fridge it should be removed 24 hours before dough is to be made and given a feeding so that it is active.
What can go wrong
A sourdough starter is a living thing like any other pet. Some bakers have names or special pots or jars for their starter and even take it for walks! Like any living thing a starter can get sick. Here’s how to handle a few problems that might crop up without awkward phone calls to the vet.
Young starters
Depending on the type of yeast and bacteria in the kitchen, a starter might get an imbalance of the bad kind early on. If this happens you may observe the bubbles start, then slow down again. It will come good in time but Peter Rinehart suggests that you may have more luck starting again but using pineapple juice in place of water for the first 2-3 days – the extra acidity will create a less friendly environment for bad bacteria.
Old starters
If forgotten and left too long without food (how could you?), a starter can develop nasty off flavours like a strong funky cheese or even get a ring of mold in its jar. If this happens take a teaspoon of the starter, avoiding any moldy bits. Put it in a clean jar and restart the feeding process from the beginning, adding flour and water until bubbles appear. There should still be enough good yeast and bacteria from the old starter to get things moving quickly again.
Slow starters
If a starter seems very slow to work in a dough, it might be too acidic. Try feeding with more flour and water than usual or discarding more of the starter than usual before feeding. Feed twice in this way before using again. Make sure the water used is free of chlorine. Keeping the dough in a warm place to rise will also help.
Brown liquid on top
Just pour it off.
Cheating
Sometimes my sourdough loaves just don’t rise right. This is part of the fun and with experience you can work around the quirks of your own starter. But if I really want to bake that day I sometimes give in and add some instant dry yeast to the dough to give it an extra kick. It should be dissolved in 1 tbsp water, then kneaded well into the sourdough which should now raise more quickly.
Buying a sourdough starter
If making a starter from scratch isn’t for you, or you just can’t get it to work, plenty of stores sell a packaged version of the same yeasts and bacteria which you can use to reliably get a starter going. This one is 6 bucks on Amazon.
